

DIY Pool Table Repairs: Tips and Tricks for Home Enthusiasts
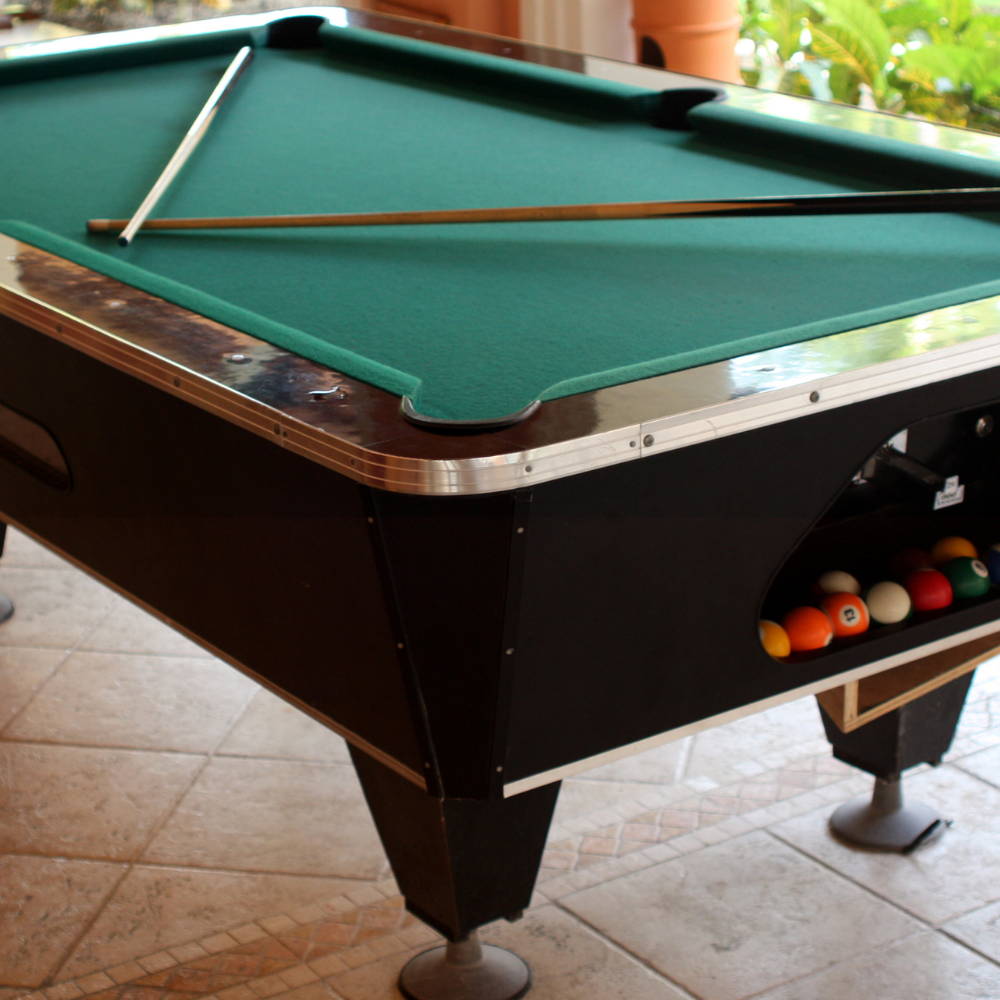
Every pool enthusiast knows that over time, even the most exquisite tables can fall victim to wear and tear. From faded felt to dodgy cushions, regular use, and sometimes neglect, can lead to the need for repairs. But before you rush to call a professional, consider this: many pool table fixes can be carried out at home, especially if you're inclined towards a bit of DIY. Here's a comprehensive guide to mending common issues, ensuring your table remains in tip-top shape.
Understanding Your Table
Before embarking on any repair mission, it's crucial to familiarise yourself with your pool table's intricacies. From the type of wood used to the slate thickness and felt fabric, understanding these elements ensures you choose the right repair materials and methods.
1. Re-felting Your Pool Table
The felt is one of the most vulnerable parts of a pool table. Over time, it can become worn out, stained, or even torn. Re-felting is a meticulous process but can be achieved with patience.
Materials: Billiard cloth, spray adhesive, staple gun, and utility knife.
Process
- Begin by removing the pool table rails.
- Strip off the old felt carefully.
- Spray the adhesive onto the slate and stretch the new cloth over it, ensuring it's smooth and free from wrinkles.
- Trim the excess felt and staple it underneath the table.
- Reattach the rails, ensuring the new felt is securely in place.
2. Replacing Damaged Pockets
Worn out pockets not only detract from the table's aesthetics but can also affect gameplay.
Materials: New pockets (leather or plastic, based on preference), screwdriver, and pliers.
Process
- Remove the old pockets by detaching any screws or fasteners.
- Fit the new pockets, making sure they are securely attached and aligned correctly.
3. Repairing the Cushions
Cushions are crucial for optimal ball rebound. If they become hard or lose their bounce, they may need replacing.
Materials: Replacement cushions, adhesive, utility knife.
Process
- Remove the old cushions carefully by cutting or peeling them off.
- Apply adhesive to the cushion area and attach the new cushion.
- Trim any excess material and ensure the cushion is securely attached and even.
4. Levelling the Table
An uneven table can drastically affect gameplay. If your table is wobbly or tilted, it may need levelling.
Materials: Carpenter's level, shims or wedges, adjustable wrench.
Process
- Place the level on the table to identify which areas are uneven.
- Adjust the table legs, if they're adjustable. If not, use shims or wedges under the legs to achieve the desired level.
- Regularly check with the level until you achieve a perfectly horizontal surface.

5. Repairing Woodwork and Finish
Scratches or dents on the wooden parts of your pool table can be an eyesore.
Materials: Wood filler, sandpaper (fine-grit), matching wood stain or paint.
Process
- Clean the affected area and fill any dents or holes with wood filler.
- Once dry, sand the area gently until it's smooth.
- Finish by applying a coat of matching wood stain or paint to camouflage the repair.
6. Slate Repairs
Cracks or chips in the slate can severely hamper gameplay.
Materials: Slate repair kit or beeswax, blow dryer.
Process
- Clean the chipped or cracked area.
- If using beeswax, melt it into the crack or chip, ensuring it fills the void completely.
- Use a blow dryer to speed up the drying process.
- Once set, scrape off any excess material to ensure the slate's surface is smooth.
7. General Maintenance
To reduce the frequency of repairs:
- Regularly brush the felt to keep it free from chalk, dust, and other debris.
- Use a cover when the table isn't in use to protect it from spills, dust, and sunlight.
- Ensure the room's humidity is controlled to prevent warping.
8.Enhancing Ball Roll with Slate Seam Sealing
When pool tables are manufactured, multiple pieces of slate are joined to create a seamless surface. Over time, these seams might become pronounced.
Materials: Beeswax or billiard table wax, scraper, and cloth.
Process
- Melt the beeswax and pour it into the visible seams.
- Allow it to cool and solidify.
- Using the scraper, remove excess wax to ensure a smooth surface. Clean up with a cloth.
9. Caring for the Wood
The wooden parts of your pool table, primarily the legs and side panels, can benefit from periodic nourishment.
Materials: Wood polish, soft cloth.
Process
- Apply a generous amount of wood polish to a cloth.
- Gently buff the wooden areas of your pool table, restoring lustre and adding a protective layer against moisture.
10. Updating Table Markings
Over time, table markings might fade, affecting the precision of the game.
Materials: White pencil or marker, ruler or straight edge.
Process
- With a ruler, ensure accuracy when remarking the spots and baulk line.
- Use a white pencil or marker designed for pool table cloths to make the markings.
11. Replacing Bumper Plugs
The ends of your table's bumpers can become loose or fall off.
Materials: Replacement bumper plugs, adhesive.
Process
- Remove old or damaged bumper plugs.
- Apply a bit of adhesive to the replacement plug and secure it at the bumper's end.
12. Optimal Room Conditions
While this isn’t a repair, per se, the environment in which your pool table resides can significantly impact its longevity.
Process
- Humidity: A humid room can warp the wood and affect the felt. Use dehumidifiers to maintain an optimal level.
- Sunlight: Prolonged direct sunlight can fade the felt and wood. If the table is near a window, consider using blinds or curtains.
- Temperature: Extreme temperature fluctuations can be detrimental. It's beneficial to keep the room at a consistent temperature.
In Conclusion
While DIY repairs can save costs and offer a sense of achievement, it's essential to recognise when a professional's touch is needed. Some repairs, if not done correctly, can further damage the table. However, with the right tools, a bit of patience, and this guide in hand, home enthusiasts can confidently tackle many common pool table issues, ensuring their beloved table remains a source of joy and entertainment for years to come.
Are you looking for a Pool Table? check out our pool tables range Pool Tables


